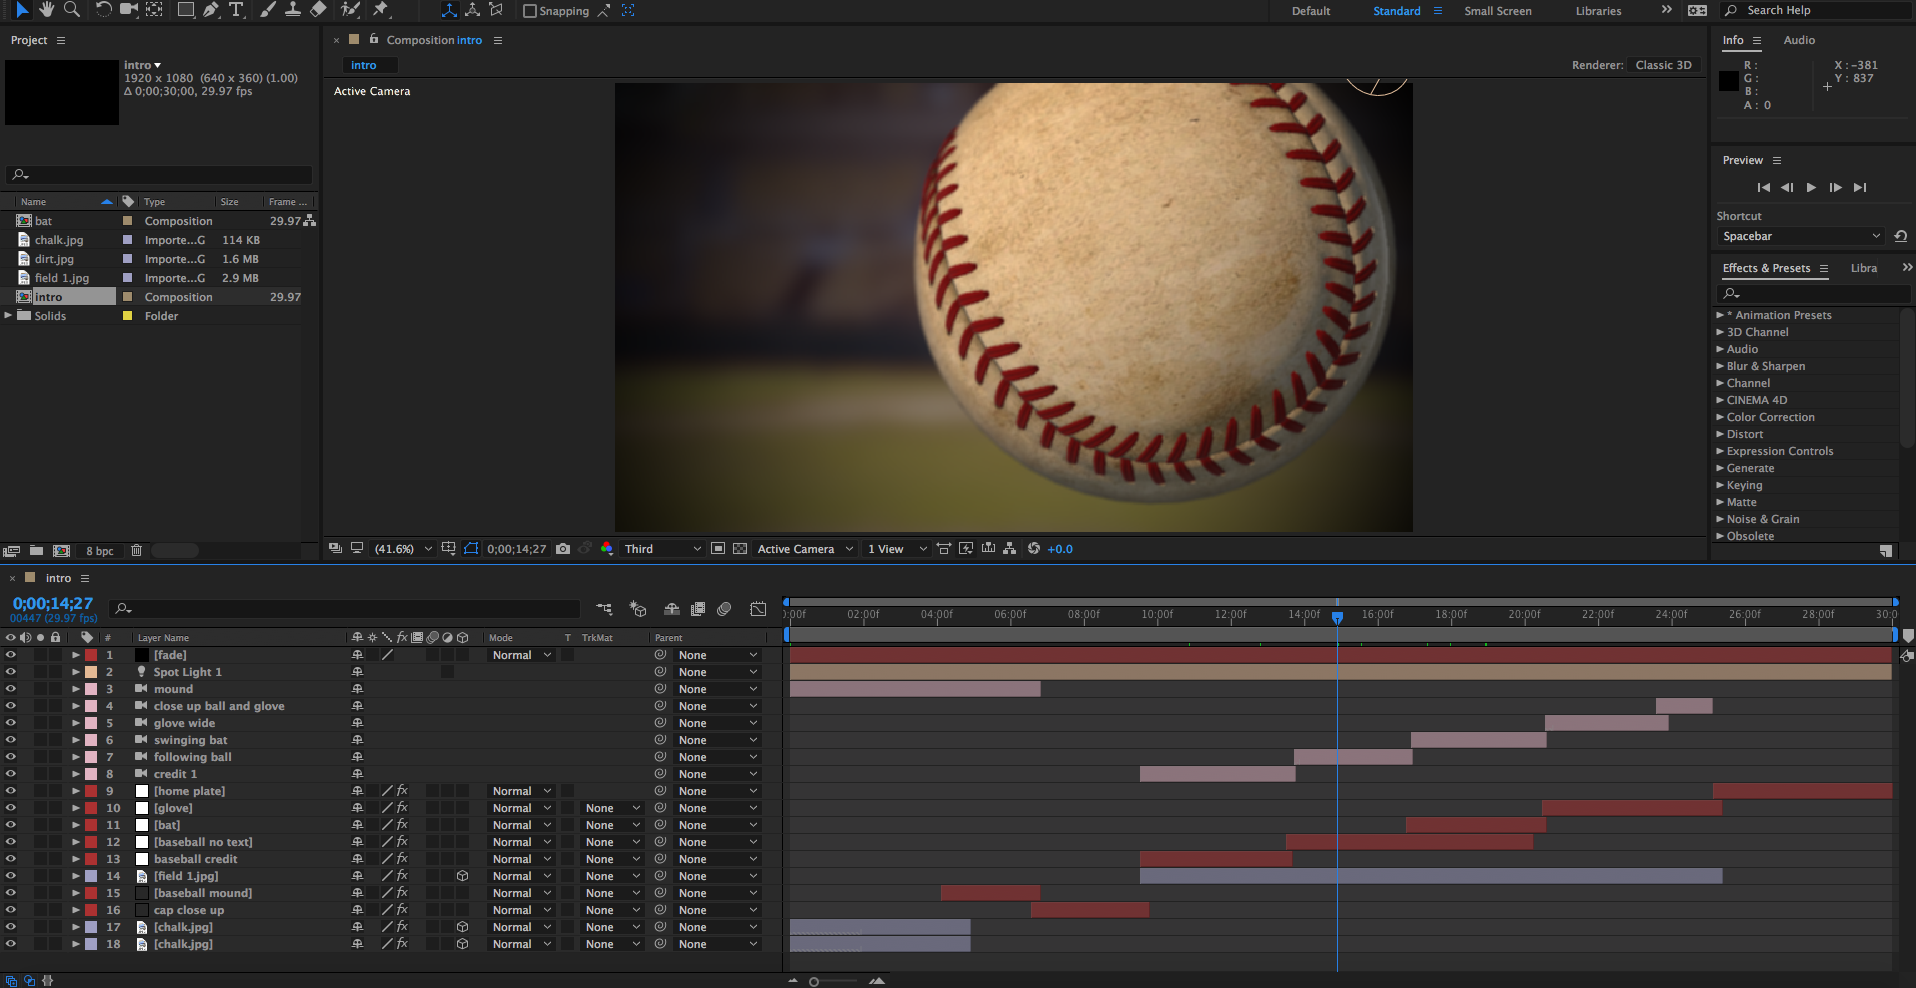
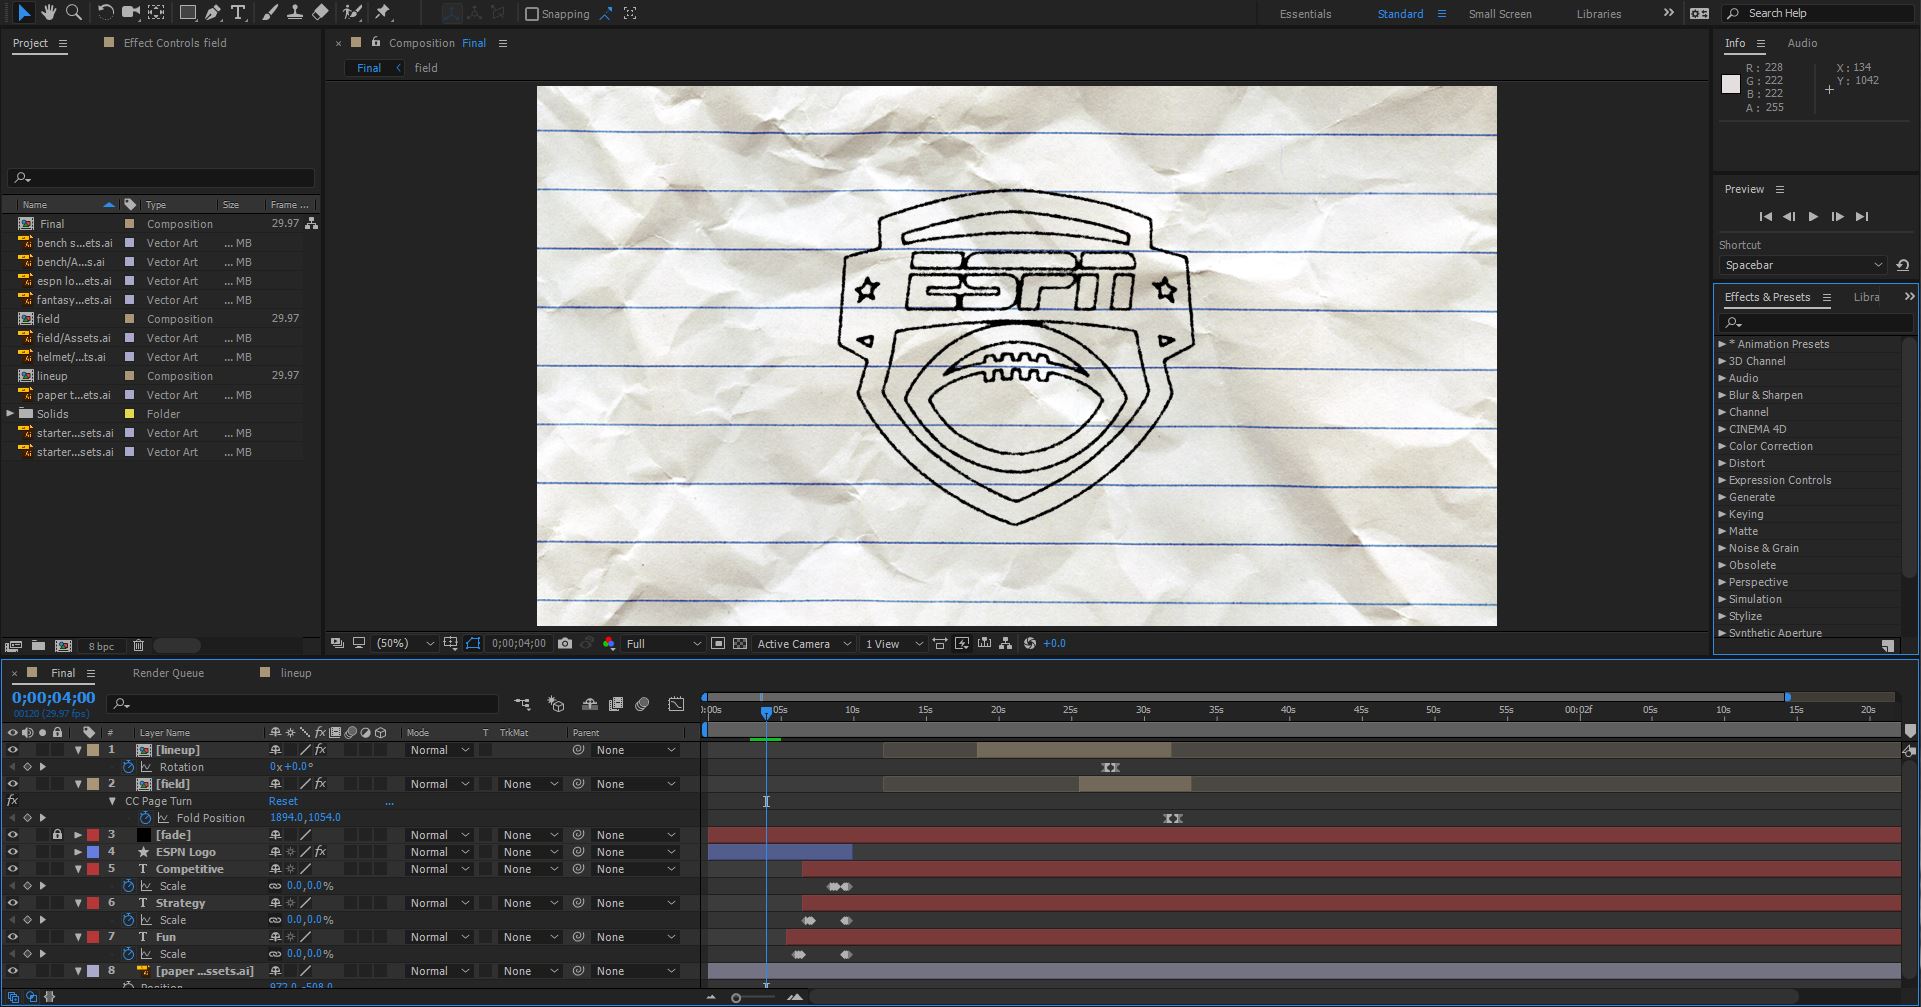
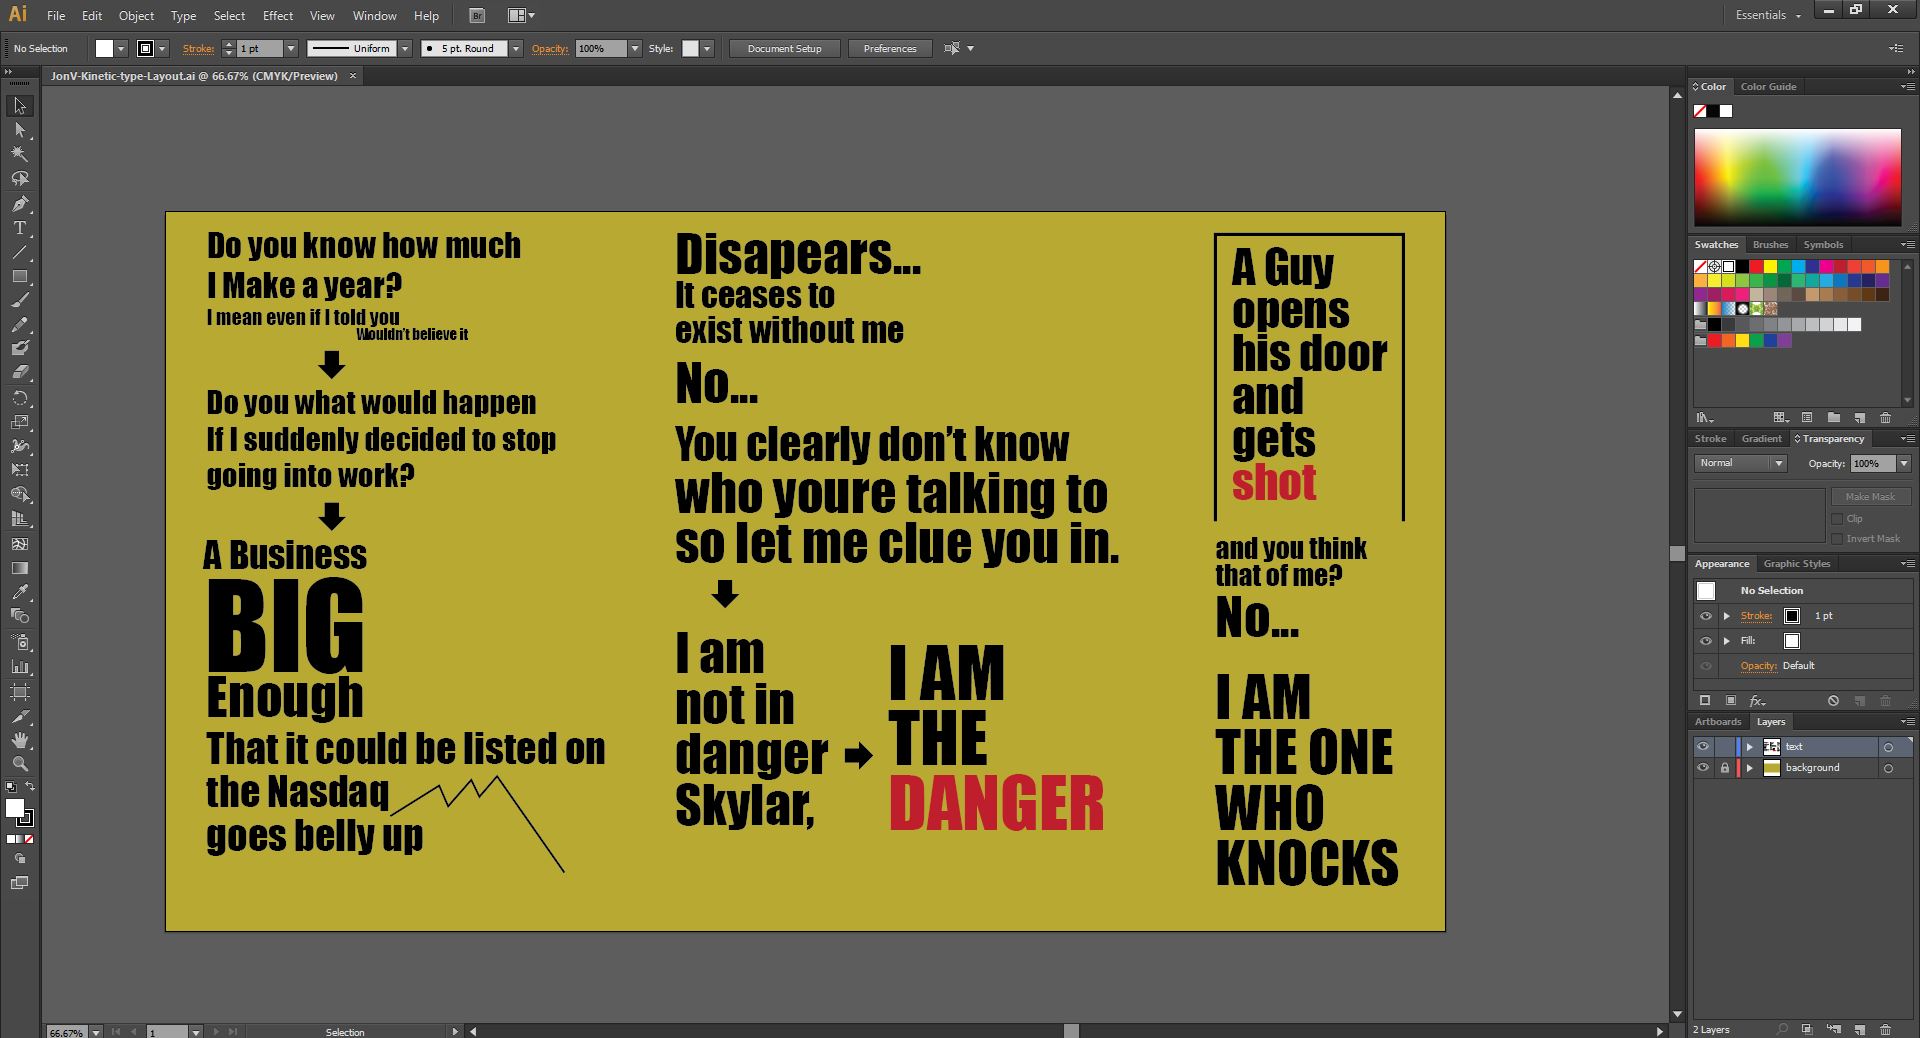
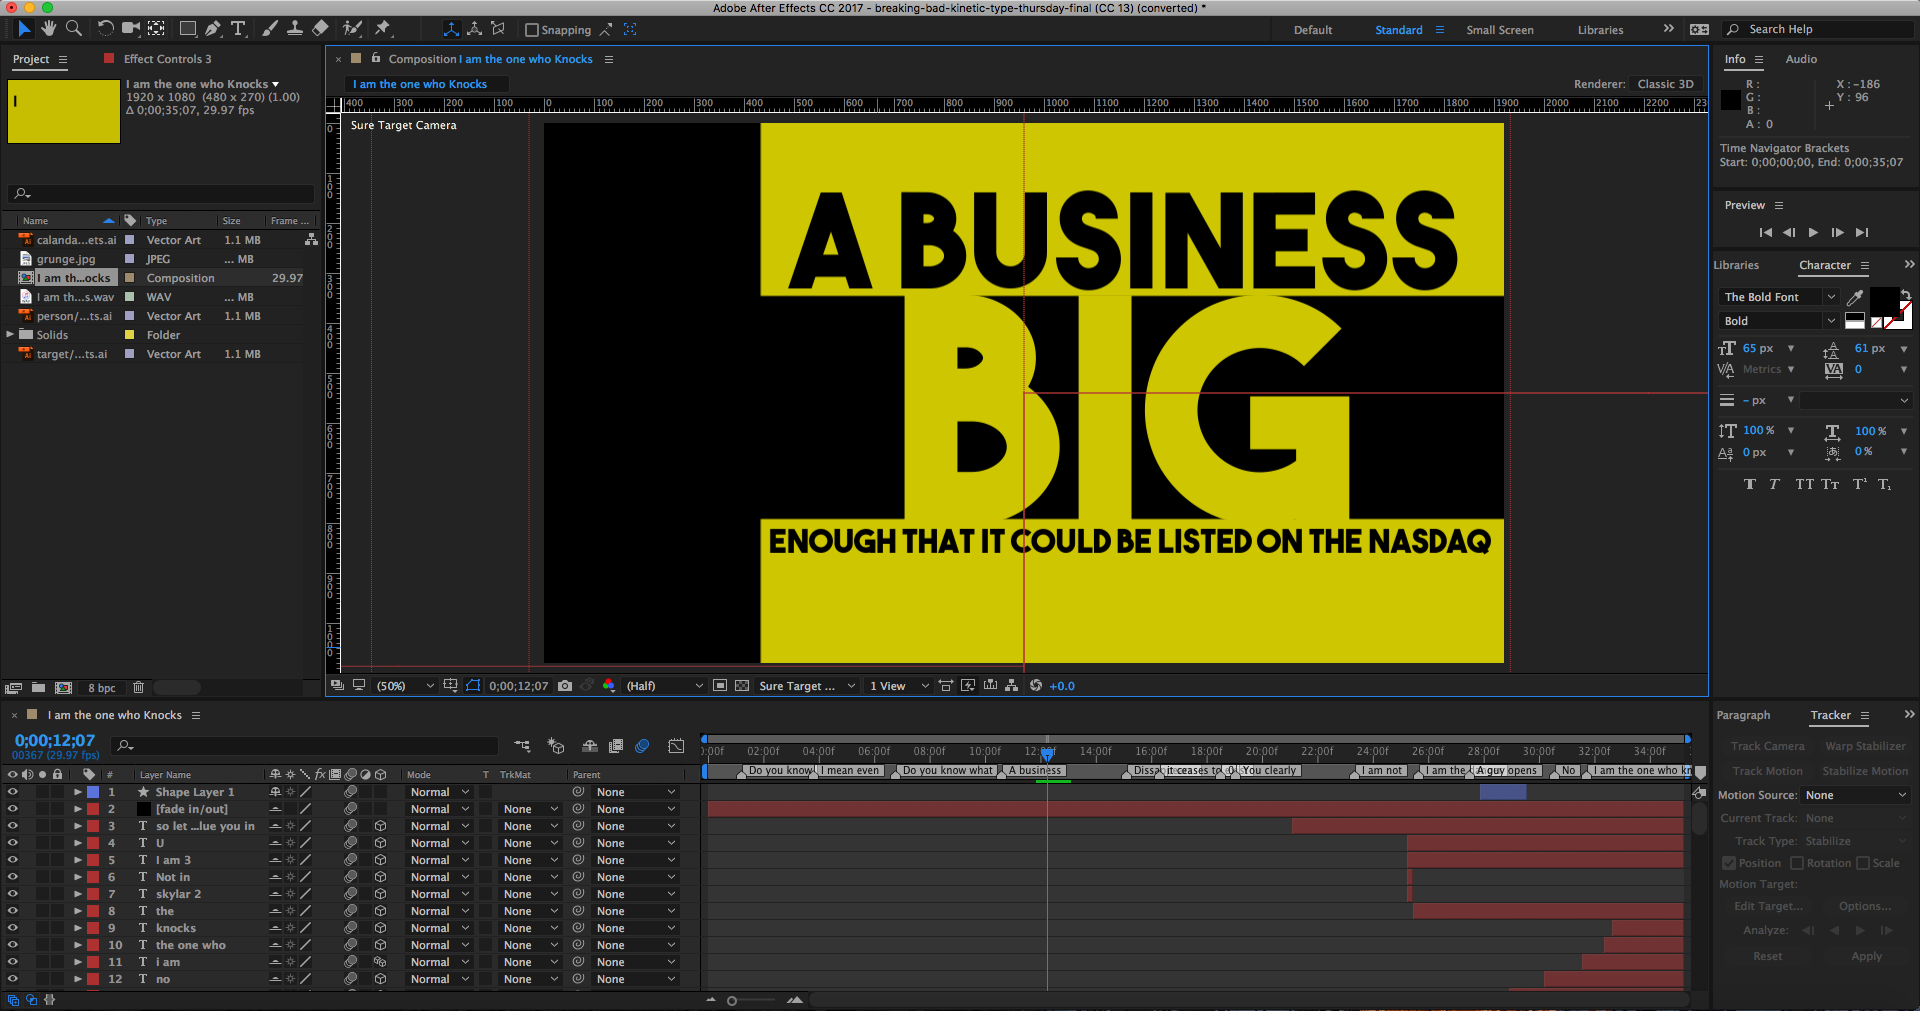
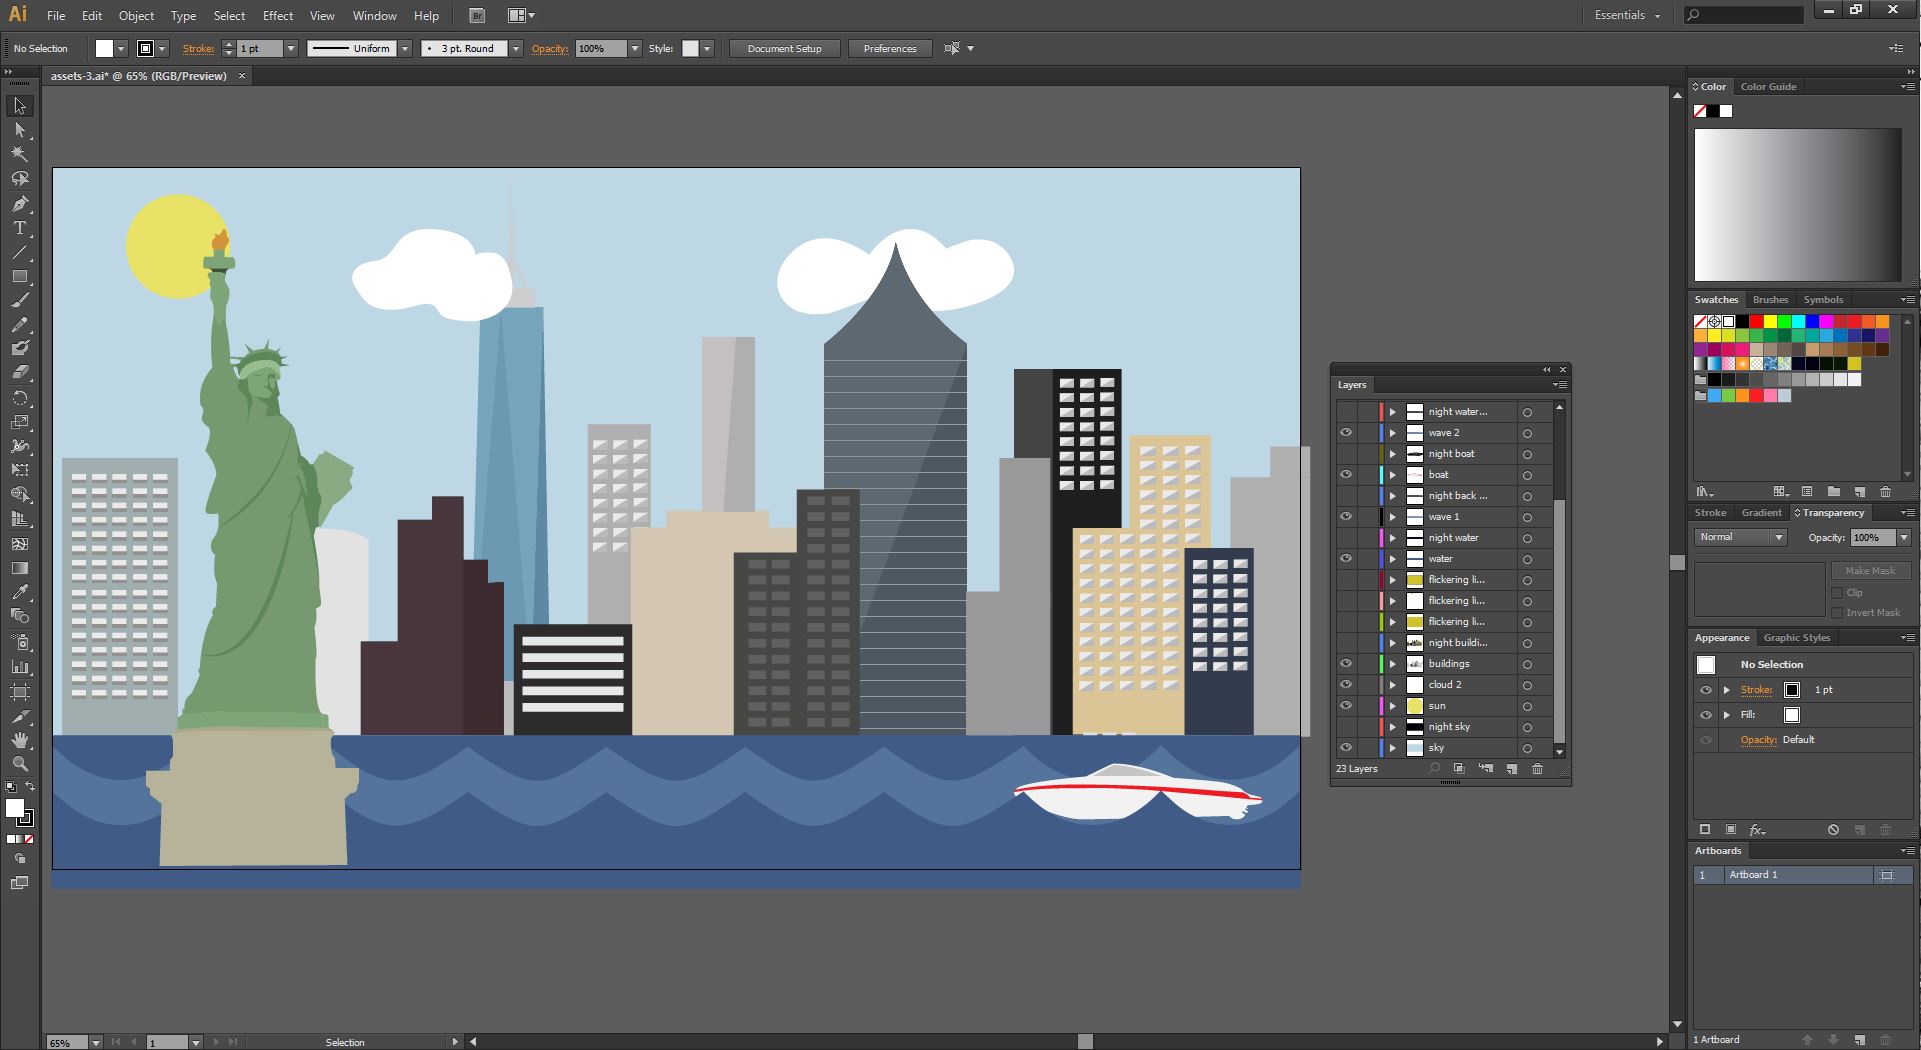
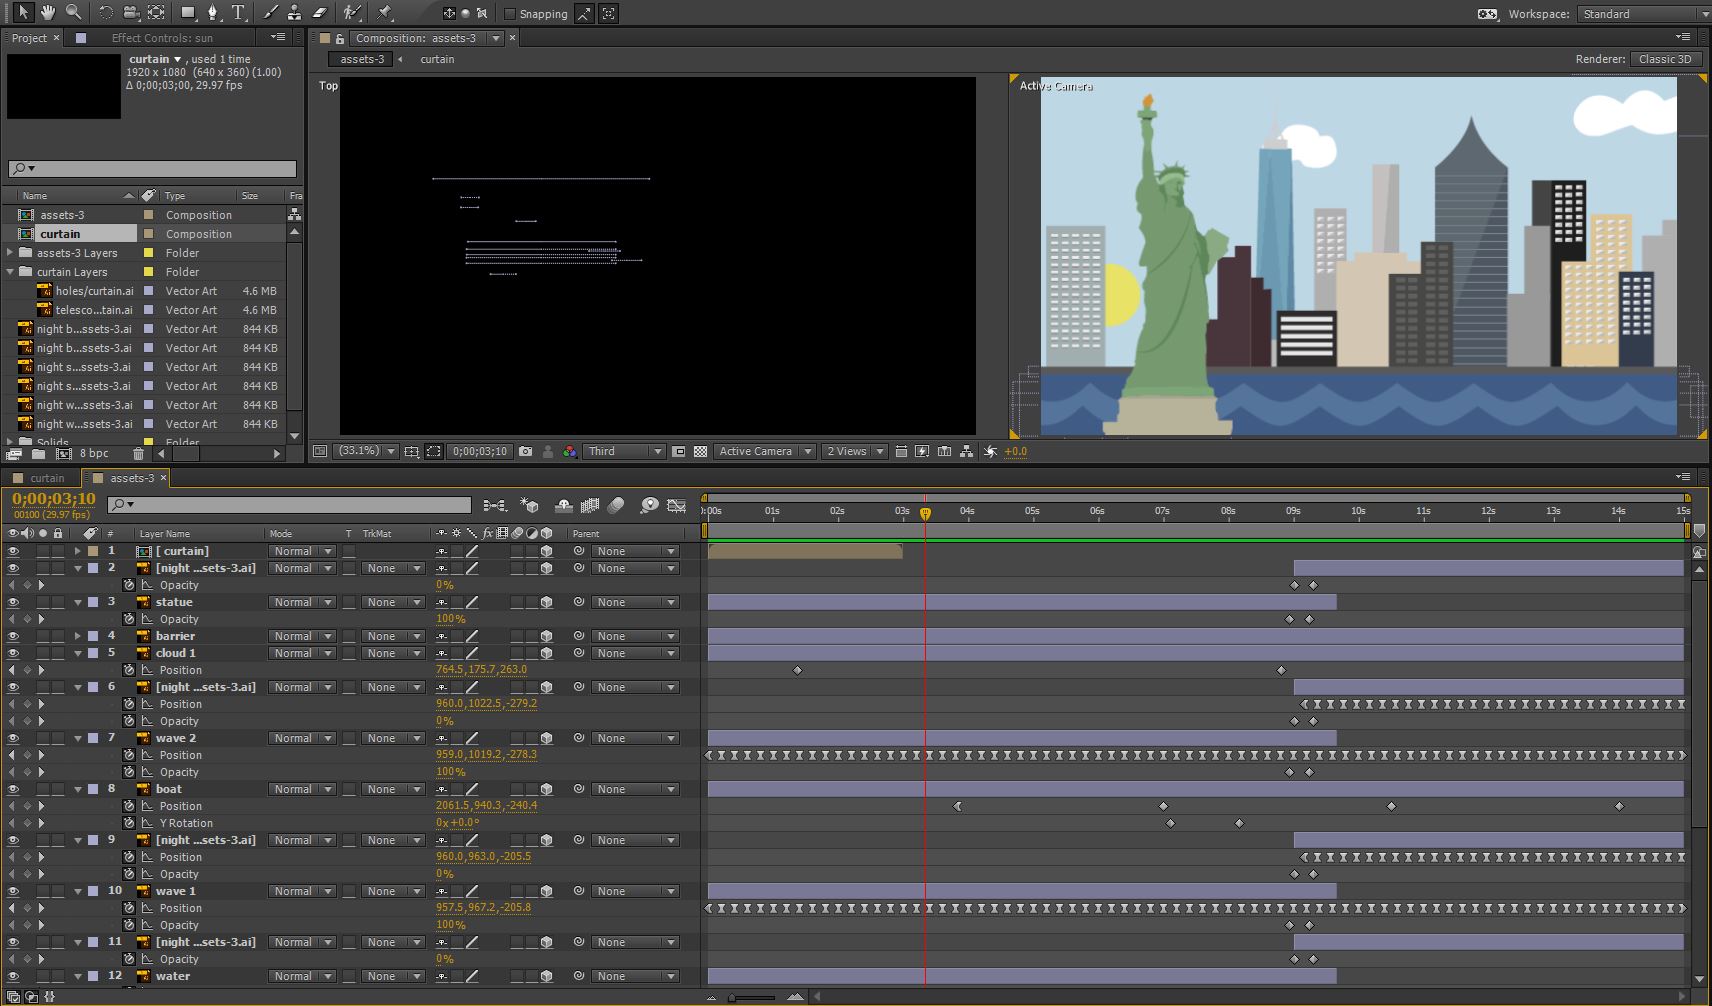
3D Baseball How To Title Sequence

Objective

The main goal for this project was to animate an intro for a “how to” video. The intro had to be animated using after effects and have a duration of 30 seconds. The animation needed to have three credits throughout the intro as well.

Storyboard

Before creating any of the assets for this animation I wanted to storyboard it to get an idea of what the video is going to look like. I had the baseball come into frame and a credit is revealed on the ball as it rotates in. The next scene had the credit engraved into the baseball bat as it is swinging and the final credit is overlaid on a glove and it gets covered up by the baseball. The scene ends as it shows the title on home plate.

Creating assets

After storyboarding out the idea the next step was to start creating assets. Since my idea involved a baseball rotating I needed to create everything in 3D. Some of the assets were presets to save myself time and others were very easily created in Cinema 4D. I then brought the 3D objects into After Effects using the Element plugin from Video Copilot.

Animation

Once I had all the elements in After Effects I used the Element plugin to animate the sequence. I created keyframes to get the assets to animate the way I wanted them to move. I had to make sure the timing of each scene worked well and make sure all the credits were readable. I also had to keep in mind the 30 second duration so I didn’t have too much or to little animations.

Need Something Animated?

Fantasy Football Explainer Video

Objective

The purpose of this assignment was to chose a specific product or service and create an animated piece to explain it. I chose to use ESPN Fantasy Football for my video as I have used the service for a few years now.

Storyboard

Before getting into After Effects I had to storyboard out my basic idea and make sure the animation met the required time frame. Laying out the whole animation also gives me an idea if things need to be added or subtracted to enhance the final product.

Asset Production

Once I had the full animation planned I could jump into Illustrator and start to create assets to be used in the final project. I chose to use a pencil sketch look for this animation to get a classic football look.

Animation

After getting all the assets created I finally got into After Effects to create the final animation. I wanted the animation to look sketched so for certain assets I had them being “drawn” onto the screen. Once the animation was done I added sound effects to make the animation better.

Need Something Animated?

Breaking Bad Kinetic Typography

Objective

The purpose of this assignment was to take a quote from a movie or TV show and animate the text accordingly. I came up with a basic layout of how I wanted the text to look like before animating and then got into After Effects and finished the job.

Type Layout

Before animating I created a layout of the text in Illustrator to get a basic idea of how the animation would look. This was just a basic way of seeing the aesthetics of the final project before getting into to much work. 

Animating

After coming up with the basic layout it was time to get into Adobe After Effects and start animating. Some of the text needed to be built on separate layers so they can be animated differently. I used the Sure Target plugin by Video Co Pilot in order to help with camera movements and save time. After all the text was animated, I added a few graphics to enhance the final piece.

Need A Kinetic Type Video?

New York City Diorama

Objective

The main goal for this project was to make a digital diorama. I had a basic scene in mind, the New York City harbor, which I needed to animate. A requirement was to have an opening and closing “curtain” before and after the actual animation. Using basic animation techniques within Adobe After Affects, I had to have things going on in frame for duration of 15 seconds.

Storyboard

Before getting into animation, the first step was to storyboard the idea. My idea was to have a time-lapse look at New York City. I started off with zooming into a telescope to reveal the scene. The animation plays out and the scene zooms out back to the telescope to close the animation.

Asset Production

Once I got a clear idea of what I wanted to go for I had to start creating assets for the animation. Everything I designed was created in Adobe Illustrator and then brought into After Effects. When creating the assets I had to keep in mind that anything that was going to be animated needed to be on separate layers, for example the buildings were on a different layer than the clouds so I can move the clouds and keep the buildings stationary.

Animation

After bringing the assets into After Effects I had to bring them into 3D space and position the layers to get the scene to look right. I keyframed certain aspects of the layers to make them do what I want, for example, I keyframed the position of the boat in order to get it to move across the screen. After the animation was completed I rendered out the video to a QuickTime movie.

Need Something Animated?

Animated Brand

Objective

For this project the idea was to create a short animation of my own personal logo. The animation also needed to have a seamless loop so it can easily be played as a gif.

Storyboard

Before animating I had to first come up with a solid plan that would work well with my logo. I decided that I wanted to have my logo “come together” from off screen. I also decided that fading out to white would be a nice transition for the seamless loop.

Animation

At the time of this assignment I was learning Adobe Animate, which is outdated now, in my first real animation class. I was able to have the three parts of my logo meet in the center and connect to form my logo.

Want an Animation for your Brand?